Cleaning your household dryer: just another task to add to your growing to-do list, right? Wrong!
You may not need to really scrub down your dryer as often as you may think! Most of the deep cleaning tasks only need to be done every six months to every other year. Keep reading to find out what you need to clean your dryer, how to clean it, and how often to complete each task!
How do you know it’s time to clean your dryer?
Do you feel like you have to dry your clothes more than once? Or are only some of the clothes getting dry while the heavier, bulkier pieces are not? That’s a sign that it’s time to clean your dryer to get it back to optimal function!
What do you need to clean your dryer correctly?
The good news is that you likely already have all the items you need to clean your dryer in your home already!
- Household vacuum with attachments
- Warm soapy water
- Toothbrush
- Spray bottle filled with equal parts white vinegar and warm water
- Microfiber cloths
- Dryer Vent Cleaning Kit
What to clean on your dryer and how often?
After every load: Clean out the lint trap! To do this, remove the trap and gently remove the lint from the screen by hand. A clean lint trap prevents dryer fires and allows for better airflow and, therefore, a better dry!
Once a Month: Clean the interior and the exterior of the dryer! You’ll know when it’s time to scrub the inside of your dryer when it starts to give off an odor. It’s essential to clean it regularly, not only to ensure your clothing comes out fresh every time, but dryer sheets and fabric softener can clog your lint trap and leave a residue on the inside of your machine.
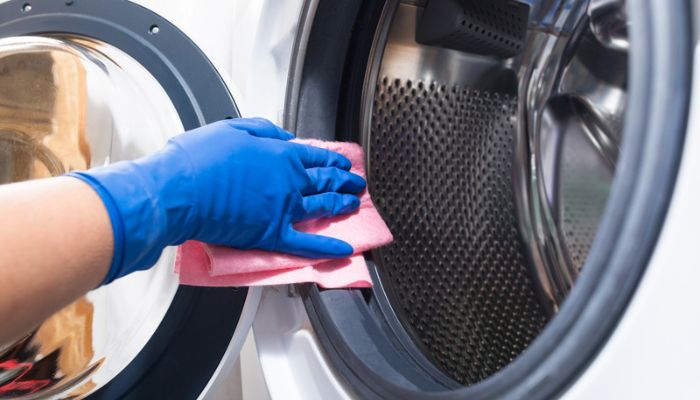
To clean the inside of your dryer, first, vacuum any debris out of the drum and from along the inside liner. Then, spray your vinegar and water mixture on the inside of the drum. Finally, wipe it all down with a microfiber cloth. You should leave the dryer door open after cleaning so it can fully air dry! It’s best to do this clean when you’re not planning on using your machine for a couple of days.
To clean the exterior of your dryer, you’ll want to use warm, soapy water and a microfiber cloth to wipe it all down. This will remove any dust, detergent resident, and smudges from the outside of your machine.
Every Six Months: Give your lint trap a deep clean! To make sure that your clothes dry and dry properly, it’s essential to make sure the trap is free of any debris. First, you want to use a lint roller to remove the lint from the screen. Then, wet both sides with hot water and use a toothbrush (dipped in water and liquid detergent) to remove any buildup. Rinse off any soap with hot water. Finally, ensure the trap dries completely before inserting it back in your dryer! Bonus step: while the lint trap is out of the dryer, use your vacuum attachments to clean out anything in the area that holds the screen!
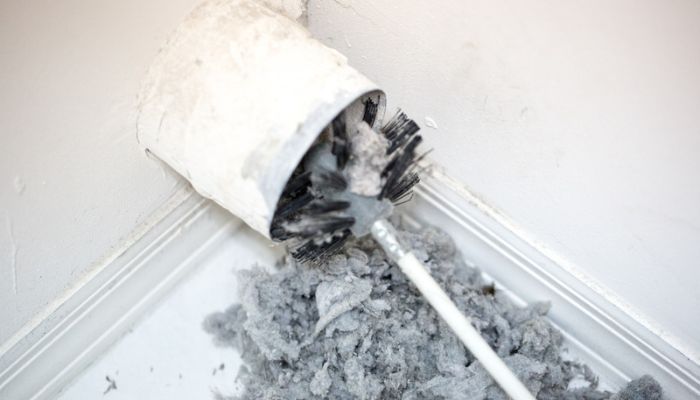
Every Other Year: Clean those dryer vents! You can tell it’s time to clean the vents when your dryer is either not drying your clothes or taking an extra-long time. Additionally, you may notice that less or no air is moving through the outside vent, and the vent may be emitting a weird smell.
This task requires that you have a thin, long brush so that you can get all the way through the vent. We recommend purchasing a Dryer Vent Clean Kit from your local hardware store, which includes everything you need to complete this cleaning task!
- Unplug your dryer and remove the plastic cover that protects the end of the vent.
- Remove any tape or clamps that connect the exhaust to the dryer vent.
- Pull the vent away from the dryer and the wall to access the ductwork.
- Gently push the brush from your kit as far as possible into the dryer duct, spinning it counterclockwise to loosen clogged lint.
- Use a vacuum to clean up any lint from the duct.
- Reconnect the vent, plug the dryer back in, and push your dryer back into the position.
- Run an empty cycle for 10-15 minutes to blow out any residual dust and confirm that your vent is clean.
That’s it! If you keep up with this schedule, your dryer should be ready to dry anything you throw at it for years to come!
But if you think your dryer is too far gone, we’re here to help you repair it or replace it! Call us or stop in with questions – we’re always happy to help!